
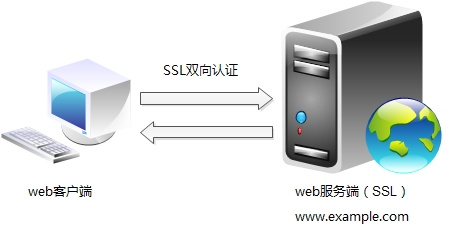
Centos6.3下apache实现SSL虚拟主机双向认证
很久没有更新LAMP的相关文档了,刚好最近单位做项目需要用到apache的SSL虚拟主机双向认证,刚好之前在做LAMP的时候顺带做过SSL模块加载,SO参考了google大量文档,用了半天时间搞定,这里总结出来给大家分享一下。
该方案是为了实现apache下实现SSL虚拟主机双向认证,从而实现可信任用户才能访问具体虚拟站点,实现了数据加密以及双向可靠认证。
我的博客新站已经建好,更多新的内容即将在新站更新。。
LINUX操作系统: centOS6.3 64bit(安装系统默认开发包)
APACHE: httpd-2.4.4
SSL: ssl.ca-0.1
解决方案:
一.关闭iptables和SELINUX
# service iptables stop
# setenforce 0
# vi /etc/sysconfig/selinux
---------------
SELINUX=disabled
---------------
二.编译安装apache
1.安装pcre依赖包
# wget http://sourceforge.net/projects/pcre/files/pcre/8.32/pcre-8.32.tar.gz/download
# tar -xzvf pcre-8.32.tar.gz
# cd pcre-8.32
# ./configure --prefix=/usr/local/pcre
# make && make install
2.apache配置:
1).下载apache与apr编译包
# wget http://archive.apache.org/dist/httpd/httpd-2.4.3-deps.tar.bz2
# wget http://archive.apache.org/dist/httpd/httpd-2.4.4.tar.bz2
2).将apache与apr编译包整合
注:httpd-2.4.3-deps.tar.bz2已集成APR,安装apache前检查pcre是否安装成功.
# tar jxvf httpd-2.4.4.tar.bz2
# tar jxvf httpd-2.4.3-deps.tar.bz2
# cp -rf httpd-2.4.3/* httpd-2.4.4
3).编译安装(加载mod_ssl模块)
# cd httpd-2.4.4
# ./configure --prefix=/usr/local/apache2 --enable-so --enable-rewrite -enable-ssl=static -with-ssl=/usr/local/ssl -enable-mods-shared=all --with-pcre=/usr/local/pcre/bin/pcre-config
# make && make install
注:编译过程中如果报错:
----------------------------------
checking for OpenSSL version >= 0.9.7… FAILED
configure: WARNING: OpenSSL version is too old
no
checking whether to enable mod_ssl… configure: error: mod_ssl has been requested but can not be built due to prerequisite failures
-----------------------------------
解决办法
# yum install openssl-devel -y
# yum update openssl -y
三.SSL单向认证配置
1.加载ssl配置文件:
# vi /usr/local/apache2/conf/httpd.conf
搜索"Include conf/extra/httpd-ssl.conf", 并将这行前面的"#"去掉
2.配置ssl:
# vi /usr/local/apache2/conf/extra/httpd-ssl.conf
搜索"shmcb:/usr/local/apache2/logs/ssl_scache(512000)",并将这行加"#"注释掉
确认以下几行配置无误:
----------------------------
Listen 443
SSLEngine on
SSLCertificateFile "/usr/local/apache2/conf/server.crt"
SSLCertificateKeyFile "/usr/local/apache2/conf/server.key"
SSLCACertificateFile "/usr/local/apache2/conf/ca.crt"
----------------------------
3.证书配置:
1).下载并解压ssl证书生成压缩包:
# cd /usr/local/apache2/conf
# wget http://www.showerlee.com/down/ssl.ca-0.1.tar.gz
# tar zxvf ssl.ca-0.1.tar.gz
# cd ssl.ca-0.1
2).利用ssl内脚本生成根证书:
# ./new-root-ca.sh
---------------------------------------------------
No Root CA key round. Generating one
Generating RSA private key, 1024 bit long modulus
………………………++++++
….++++++
e is 65537 (0×10001)
Enter pass phrase for ca.key: (输入一个密码)
Verifying – Enter pass phrase for ca.key: (再输入一次密码)
……
Self-sign the root CA… (签署根证书)
Enter pass phrase for ca.key: (输入刚刚设置的密码)
……..
…….. (下面开始签署)
Country Name (2 letter code) [MY]:CN
State or Province Name (full name) [Perak]:JiangSu
Locality Name (eg, city) [Sitiawan]:NanJing
Organization Name (eg, company) [My Directory Sdn Bhd]:example Co.,Ltd
Organizational Unit Name (eg, section) [Certification Services Division]:example
Common Name (eg, MD Root CA) []:example
Email Address []:info@example.com
--------------------------------------------------
这样就生成了ca.key和ca.crt两个文件
3).生成服务端证书:
# ./new-server-cert.sh server
注:证书名为server
----------------------------------------------------
……
……
Country Name (2 letter code) [MY]:CN
State or Province Name (full name) [Perak]:JiangSu
Locality Name (eg, city) [Sitiawan]:NanJing
Organization Name (eg, company) [My Directory Sdn Bhd]:example Co.,Ltd
Organizational Unit Name (eg, section) [Secure Web Server]:example
Common Name (eg, http://www.domain.com) []:http://www.example.com
Email Address []:info@example.com
-----------------------------------------------------
这样就生成了server.csr和server.key这两个文件。
4).签署服务端证书:
# ./sign-server-cert.sh server
-------------------------------------------------
CA signing: server.csr -> server.crt:
Using configuration from ca.config
Enter pass phrase for ./ca.key: (输入上面设置的根证书密码)
Check that the request matches the signature
Signature ok
The Subject’s Distinguished Name is as follows
countryName RINTABLE:’CN’
stateOrProvinceName RINTABLE:’JiangSu’
localityName RINTABLE:’NanJing’
organizationName RINTABLE:’example Co.,Ltd’
organizationalUnitName:PRINTABLE:’example’
commonName RINTABLE:’http://www.example.com’
emailAddress :IA5STRING:’info@example.com’
Certificate is to be certified until Jul 16 12:55:34 2005 GMT (365 days)
Sign the certificate? [y/n]:y
1 out of 1 certificate requests certified, commit? [y/n]y
Write out database with 1 new entries
Data Base Updated
CA verifying: server.crt <-> CA cert
server.crt: OK
-------------------------------------------
注:如果这里出现错误,最好重新来过,删除ssl.ca-0.1这个目录,从解压缩处重新开始。
下面要按照httpd-ssl.conf的设置,将证书放在适当的位置。
5).配置证书相关权限和路径:
# cd /usr/local/apache2/conf/ssl.ca-0.1
# chmod 644 server.key server.crt ca.crt
# mv server.key ..
# mv server.crt ..
# mv ca.crt ..
4.配置https实现SSL虚拟主机单向加密
1).加载虚拟主机配置文件:
# vi /usr/local/apache2/conf/httpd.conf
搜索"Include conf/extra/httpd-vhosts.conf", 并将这行前面的"#"去掉
2).让www.example.com虚拟主机实现https访问
# vi /usr/local/apache2/conf/extra/httpd-vhosts.conf
添加如下内容:
---------------------------
<VirtualHost *:443>
DocumentRoot "/usr/local/apache2/htdocs/www.example.com/"
ServerAlias http://www.example.com
SSLEngine on
SSLCertificateFile "/usr/local/apache2/conf/server.crt"
SSLCertificateKeyFile "/usr/local/apache2/conf/server.key"
SSLCACertificateFile "/usr/local/apache2/conf/ca.crt"
</VirtualHost>
----------------------------
# cd /usr/local/apache2/htdocs
# mkdir http://www.example.com
# echo "this is a test SSL web page" > index.html
3).启动服务:
# /usr/local/apache2/bin/apachectl start
4).查看SSL端口是否打开:
# lsof -i:443
---------------------------------
COMMAND PID USER FD TYPE DEVICE SIZE/OFF NODE NAME
httpd 125366 root 6u IPv6 6351523 0t0 TCP *:https (LISTEN)
httpd 125885 daemon 6u IPv6 6351523 0t0 TCP *:https (LISTEN)
httpd 125886 daemon 6u IPv6 6351523 0t0 TCP *:https (LISTEN)
httpd 125887 daemon 6u IPv6 6351523 0t0 TCP *:https (LISTEN)
httpd 125946 daemon 6u IPv6 6351523 0t0 TCP *:https (LISTEN)
---------------------------------
5).浏览器输入 https://www.example.com
注:需配置本机HOST文件
如图:

四.SSL双向认证配置:
1.为客户端生成一个证书:
# /usr/local/apache2/conf/ssl.ca-0.1
# ./new-user-cert.sh client1
-----------------------------------------
No client1.key round. Generating one
Generating RSA private key, 1024 bit long modulus
...........++++++
...++++++
e is 65537 (0x10001)
Fill in certificate data
You are about to be asked to enter information that will be incorporated
into your certificate request.
What you are about to enter is what is called a Distinguished Name or a DN.
There are quite a few fields but you can leave some blank
For some fields there will be a default value,
If you enter '.', the field will be left blank.
-----
Common Name (eg, John Doe) []:client1
Email Address []:info@example.com
You may now run ./sign-user-cert.sh to get it signed
-------------------------------------------
2.签署该证书:
# ./sign-user-cert.sh client1
--------------------------------------
CA signing: client1.csr -> client1.crt:
Using configuration from ca.config
Enter pass phrase for ./ca.key: (输入ca根认证密码)
Check that the request matches the signature
Signature ok
The Subject's Distinguished Name is as follows
commonName :PRINTABLE:'client1'
emailAddress :IA5STRING:'info@example.com'
Certificate is to be certified until Aug 8 08:41:51 2014 GMT (365 days)
Sign the certificate? [y/n]:y
1 out of 1 certificate requests certified, commit? [y/n]y
Write out database with 1 new entries
Data Base Updated
CA verifying: client1.crt <-> CA cert
client1.crt: OK
------------------------------------
3.将该客户端证书转换成浏览器可识别的.p12格式
# ./p12.sh client1
-------------------------------------
Enter Export Password: (输入ca根认证密码)
Verifying - Enter Export Password: (确认)
The certificate for client1 has been collected into a pkcs12 file.
You can download to your browser and import it.
--------------------------------------
# ll client1.p12
--------------------------------------
-rw-r--r-- 1 root root 2601 8月 8 16:44 client1.p12
--------------------------------------
4.将该p12文件分发给可信任的客户端,实现双向证书加密功能
注:此处将该文件传送到本机作为示例,实际线上可以利用程序实现证书认证下载
# sz client1.p12
5.配置https实现SSL虚拟主机双向加密
# vi /usr/local/apache2/conf/extra/httpd-vhosts.conf
添加如下内容:
----------------------------
<VirtualHost *:443>
DocumentRoot "/usr/local/apache2/htdocs/www.example.com/"
ServerAlias http://www.example.com
SSLEngine on
SSLCertificateFile "/usr/local/apache2/conf/server.crt"
SSLCertificateKeyFile "/usr/local/apache2/conf/server.key"
SSLCACertificateFile "/usr/local/apache2/conf/ca.crt"
SSLVerifyClient require
SSLVerifyDepth 10
</VirtualHost>
----------------------------
6.测试结果
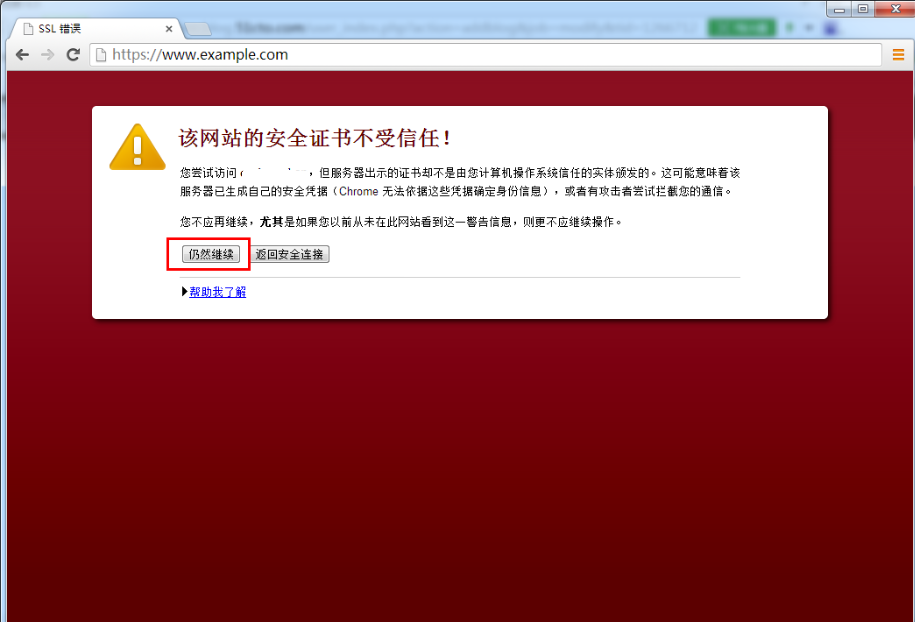
1).使用Chrome浏览器输入 https://www.example.com
未导入客户端证书,提示SSL连接出错

2).SO导入证书:
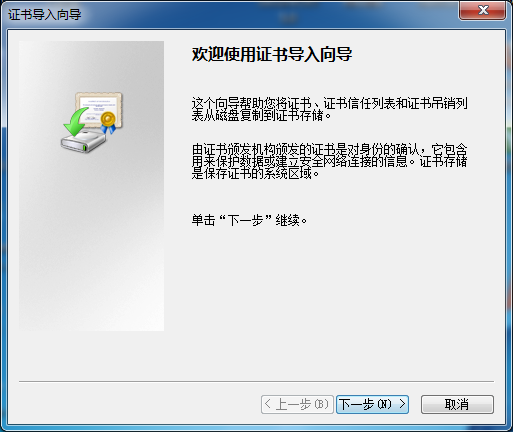
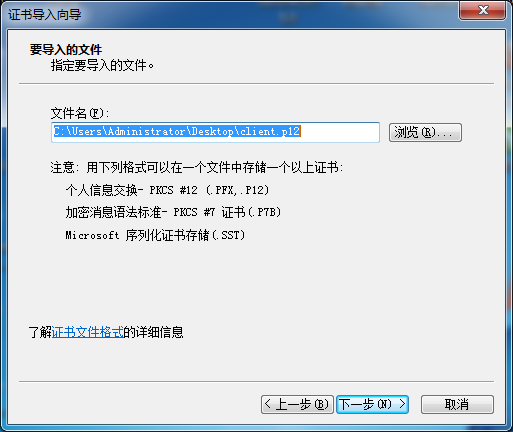
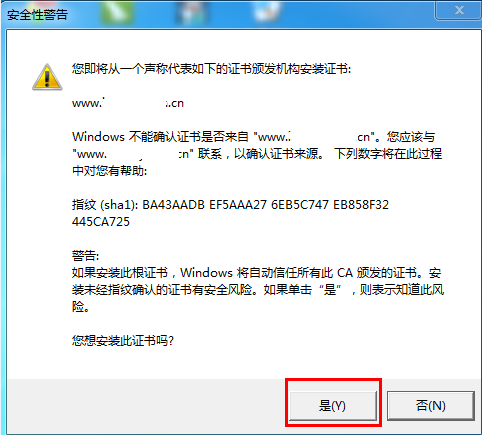
a.windows下运行该证书文件

b.进入证书导入向导,一路下一步即可完成操作


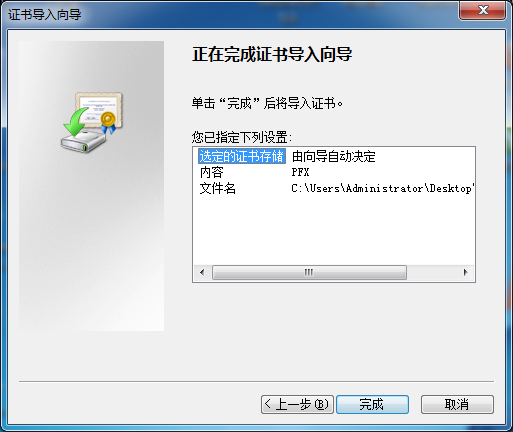
重新使用Chrome浏览器输入 https://www.example.com
提示


大功告成...
本文链接:http://www.showerlee.com/archives/1211
继续浏览:


还没有评论,快来抢沙发!